![]()
 Home
Home Sensors
 Cameras
 Software
 Enclosures
 GSA Courses
 E6 Courses
 Business
 Tech News
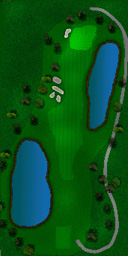
Note: These pages describe the manual GGS design method.
goto AutomaticCourseGeneration for faster simpler method
Basic Course design Overview
The ProX system is unique in that it allows users to create their own courses and add them to the system.
Creating new - or changing existing - course holes and complete courses in the GGS golf simulator system is quite a simple process for anyone with basic knowledge of a standard graphics tool. Full detailed information on how to create new course holes yourself is supplied with the software CD.
The following is just a brief description of this process.
To
create new courses for the GGS golf simulator, the following bit map (.bmp)
files are required for each hole.
-
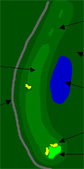
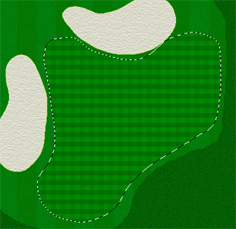
Surface Recognition and Object map. This file defines the base hole layout (fairway, greens etc) and where and what objects are to appear on the hole e.g. trees, flag, tees, buildings etc. It is also used by the system to identify the surface type at any point on the course so that the appropriate action can be taken when the ball makes contact with this surface i.e. in water, rough, green etc. so that roll and/or bounce can be appropriately calculated.
-
Light map. In this file the shading and lighting is defined.
-
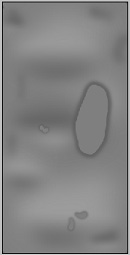
Height map. In these files the terrain is defined (Hills, dips, bunkers etc)
-
Reflection map. This file defines the surfaces that are reflective e.g. Water ponds.
-
Surface Texture map. This file contains the surface textures of the fairways, greens, bunkers etc.
-
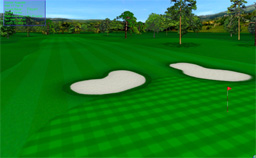
Overview screen shot.
Step 1 Basic Hole Layout
This
is where the basic hole layout will be made.
Using
the area Select, Fill and Paint Brush tools in Photoshop and with the
appropriate pre-defined surface colors, you paint the hole layout i.e. fairway,
green, bunkers, footpath , ponds etc.
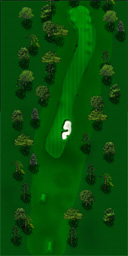
Step 2. Place Objects
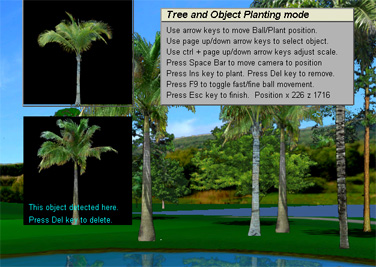
Interactive Tree Planting and Object Scaling.
Plant trees and other objects directly while walking the course and see the results immediately.
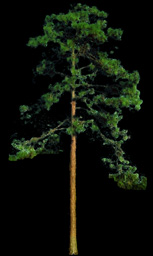
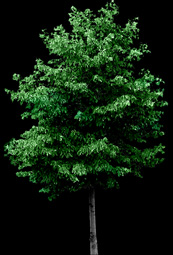

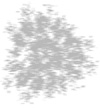
A large library of trees, plants and foliage object images are available including 50 Tropical and North American trees.
User Defined Objects

You can also create up to 128 of your own objects. (e.g. your local club-house) which can be placed anywhere in the course hole. In order to do this you will have to scan the photo of your desired object and cut-out the image to be displayed.
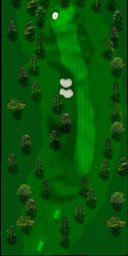
Step 3: Create the Height and Light maps
using gray scales brushes and tools in your graphics tool.
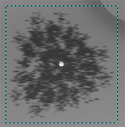
Tree and other object shades are rendered automatically from original tree or object image. No need to tediously reproduce these in the light map. Just plant the tree in the interactive tree planting mode and the shade (depending on the sun height and position) will appear automatically.
You can still reproduce them if preferred in the light map.
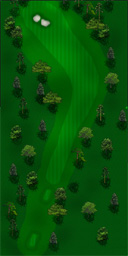
Step 3. Create the Texture map
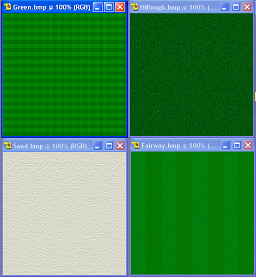
Using the predefined surface textures fill in appropriately into the SurfaceObjects image to create the texture map.
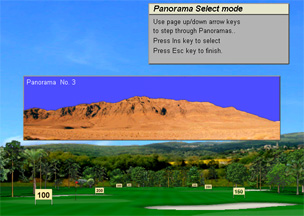
Step 4. Select the Panorama
Selecting an appropriate panorama is done interactively when you open the hole.
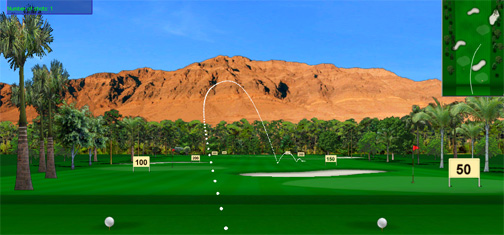
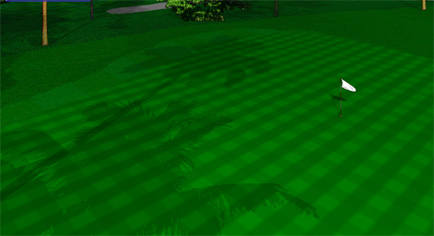
The finished product
For further detailed information please go to